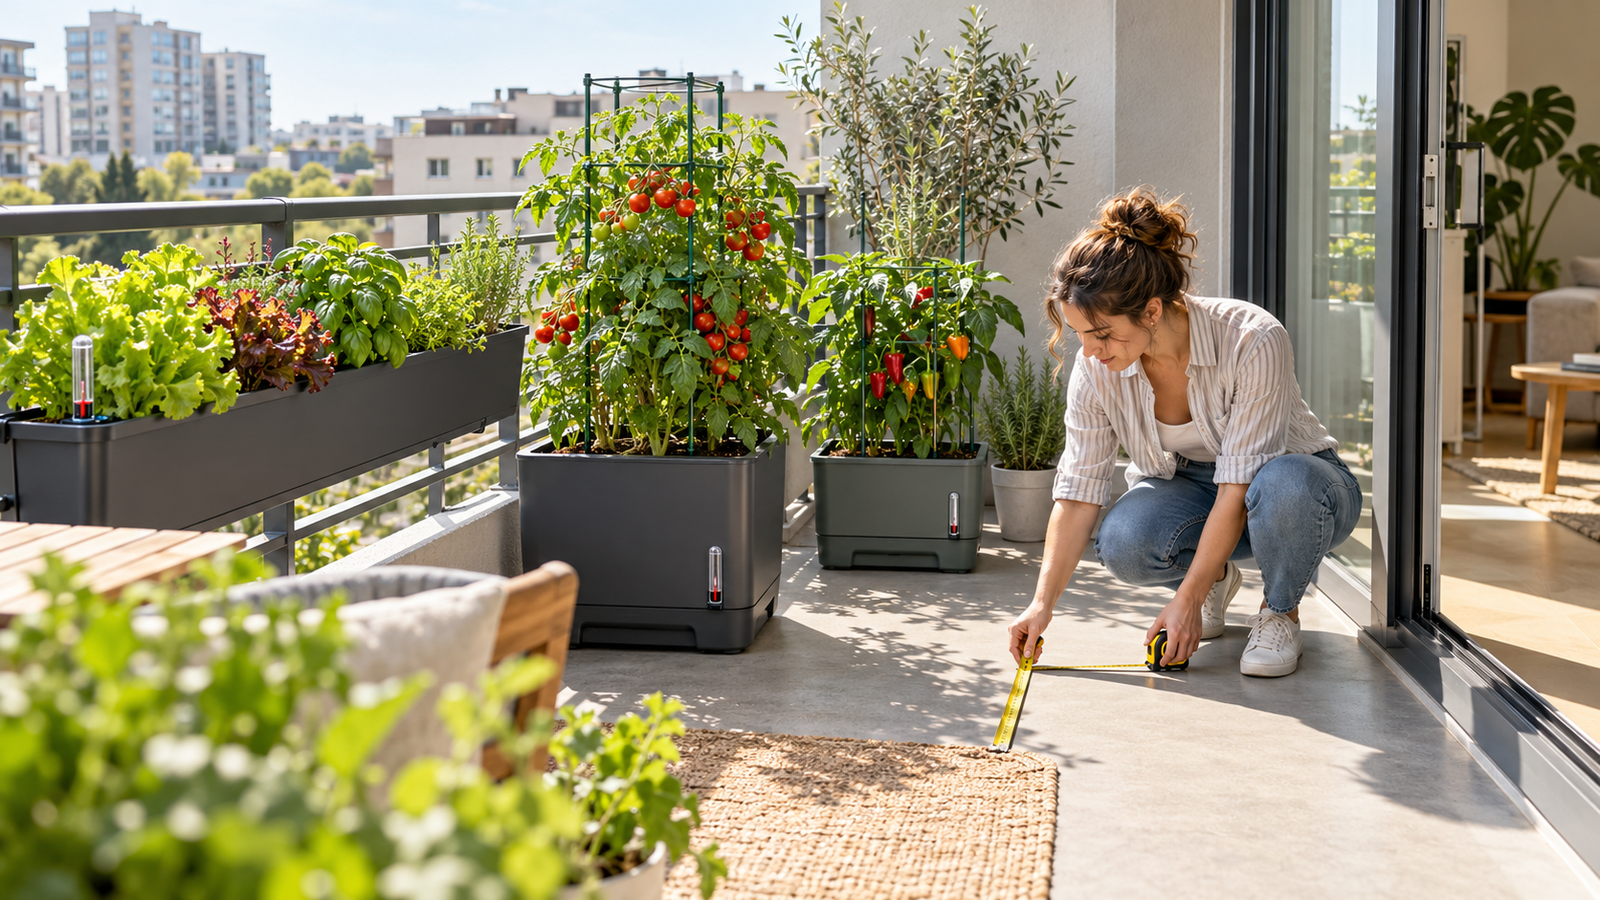
Choose self-watering planters for balcony vegetables based on each crop’s root space, mature canopy, water needs, and support requirements—not just the number of plants they can hold. Renters should also consider available floor space, wind exposure, and the planter’s weight when fully saturated.
For scale, a standard commercial sub-irrigated planter measures about 29 by 13.5 inches. It holds 2 cubic feet of growing medium and a 3-gallon reservoir, and may weigh approximately 130–150 pounds when full, according to balcony-gardening guidance. Measure the balcony first, then select the planter style, match its capacity to the vegetable, confirm its drainage and weight, and maintain the reservoir safely.
Assess Your Balcony: Space, Sun, Wind, Weight, and Self-Watering Planters for Balcony Vegetables
Measure the available space and assess sunlight, wind, drainage, and the balcony’s maximum safe load before choosing a planter. Even a well-designed container can become a hazard if it blocks the door, tips in a gust, or concentrates more weight than the structure can support.
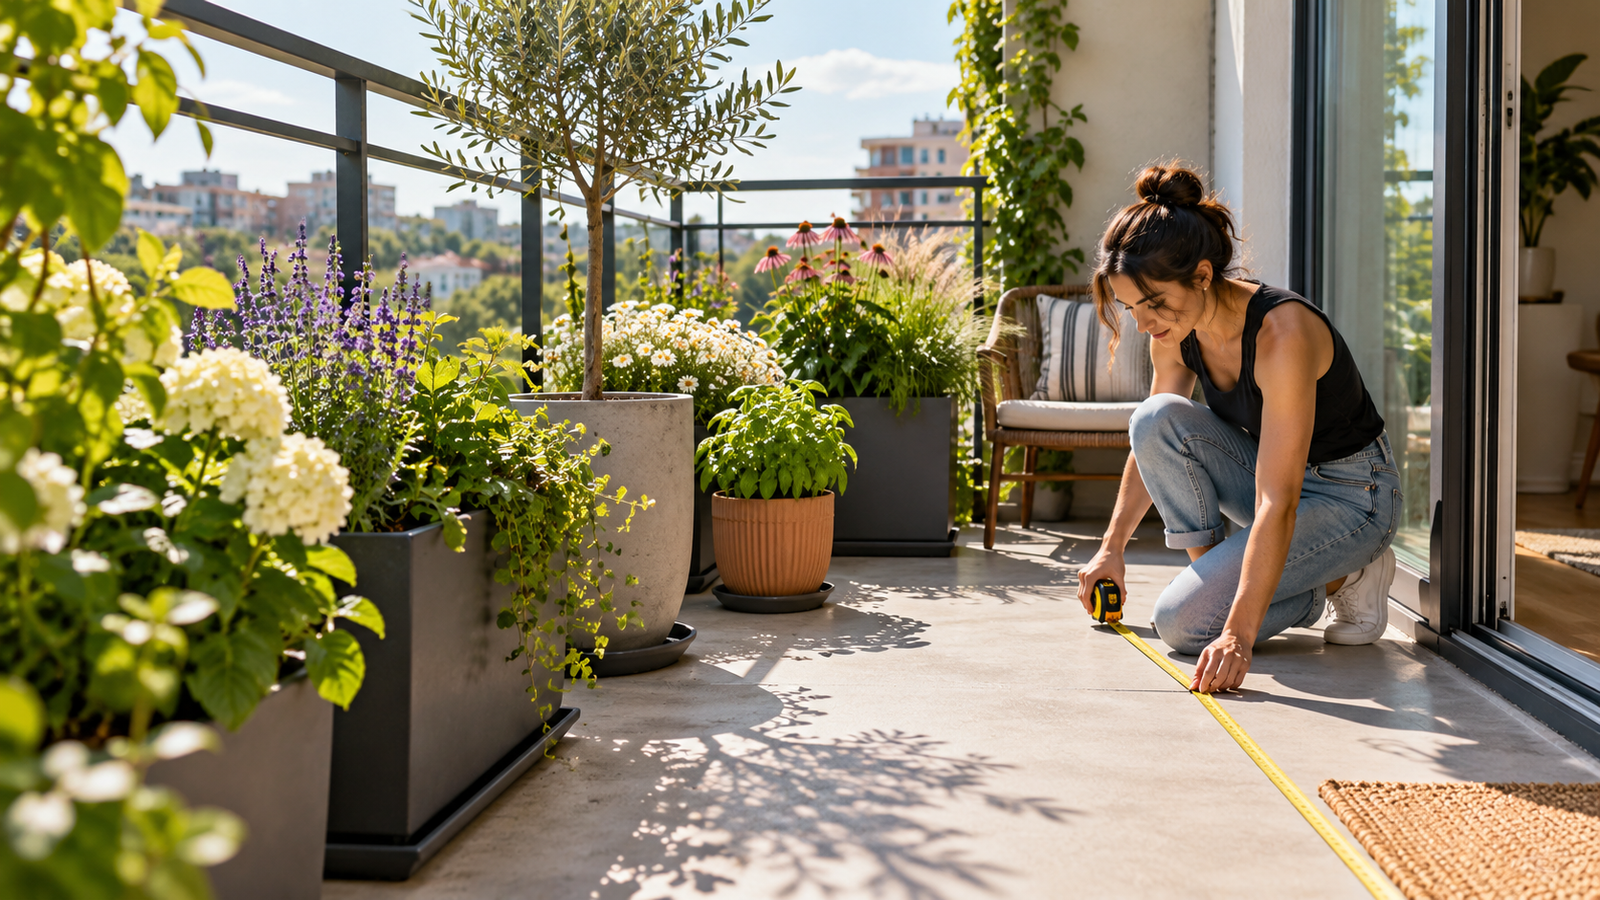
- Measure: Record the planter’s dimensions, usable floor width, railing depth, door clearance, and the location of drainage outlets.
- Observe sunlight: Count the hours of direct sun at the proposed position rather than counting daylight hours alone.
- Check wind: Determine whether the balcony is exposed, particularly if it sits above surrounding buildings.
- Plan water: Confirm that overflow can drain outdoors without staining walls or flooding the balcony below.
- Confirm permission: Review the lease and building manager’s rules before attaching anything to a railing.
For additional planning ideas, compare these observations with our guides to balcony vegetable gardening, small-space vegetable container gardening, and the rooftop garden weight load calculator. The Cost to Start a Balcony Vegetable Garden 2026 can help frame a budget-conscious setup.
Choose a Planter Format That Fits a Rental
A balcony railing planter preserves floor space, but its depth must match the railing, and it needs a secure, drill-free attachment. This format works well for herbs, greens, and compact vegetables in a shallow container; however, exposed balconies make tall crops a poor choice. A floor-standing planter offers greater stability and suits larger vegetables, provided it leaves the door clear.
A vertical or stackable planter expands the growing area without taking up more floor space, although added height increases wind exposure. A hanging or clip-on planter is removable and rental-friendly, but it holds less growing medium and supports smaller crops. Secure attachment is a basic safety requirement, not an optional feature.
Estimate the Full, Watered Weight
Calculate the combined weight of the container, saturated potting mix, plant, trellis, and the reservoir at full capacity. Water weighs 8.34 pounds per gallon, so the reservoir alone can add substantial weight before you account for the roots and container.
According to building-load guidance, residential balconies commonly use 40–60 pounds per square foot, though ratings vary by building. When saturated, an EarthBox-style unit can weigh about 130–150 pounds across roughly 2.7 square feet. Do not use the empty weight for planning: ask the building manager or a qualified professional, and distribute several smaller planters if the rating is unknown.
Match Planter Size to the Vegetable You Want to Grow
On a balcony, planter weight is a limiting factor. Choose the container for the plant’s mature canopy, root depth, support needs, and water demand—not for the plant’s size at purchase. For help planning several containers, see Planning Vegetable Container Gardening in Small Spaces.
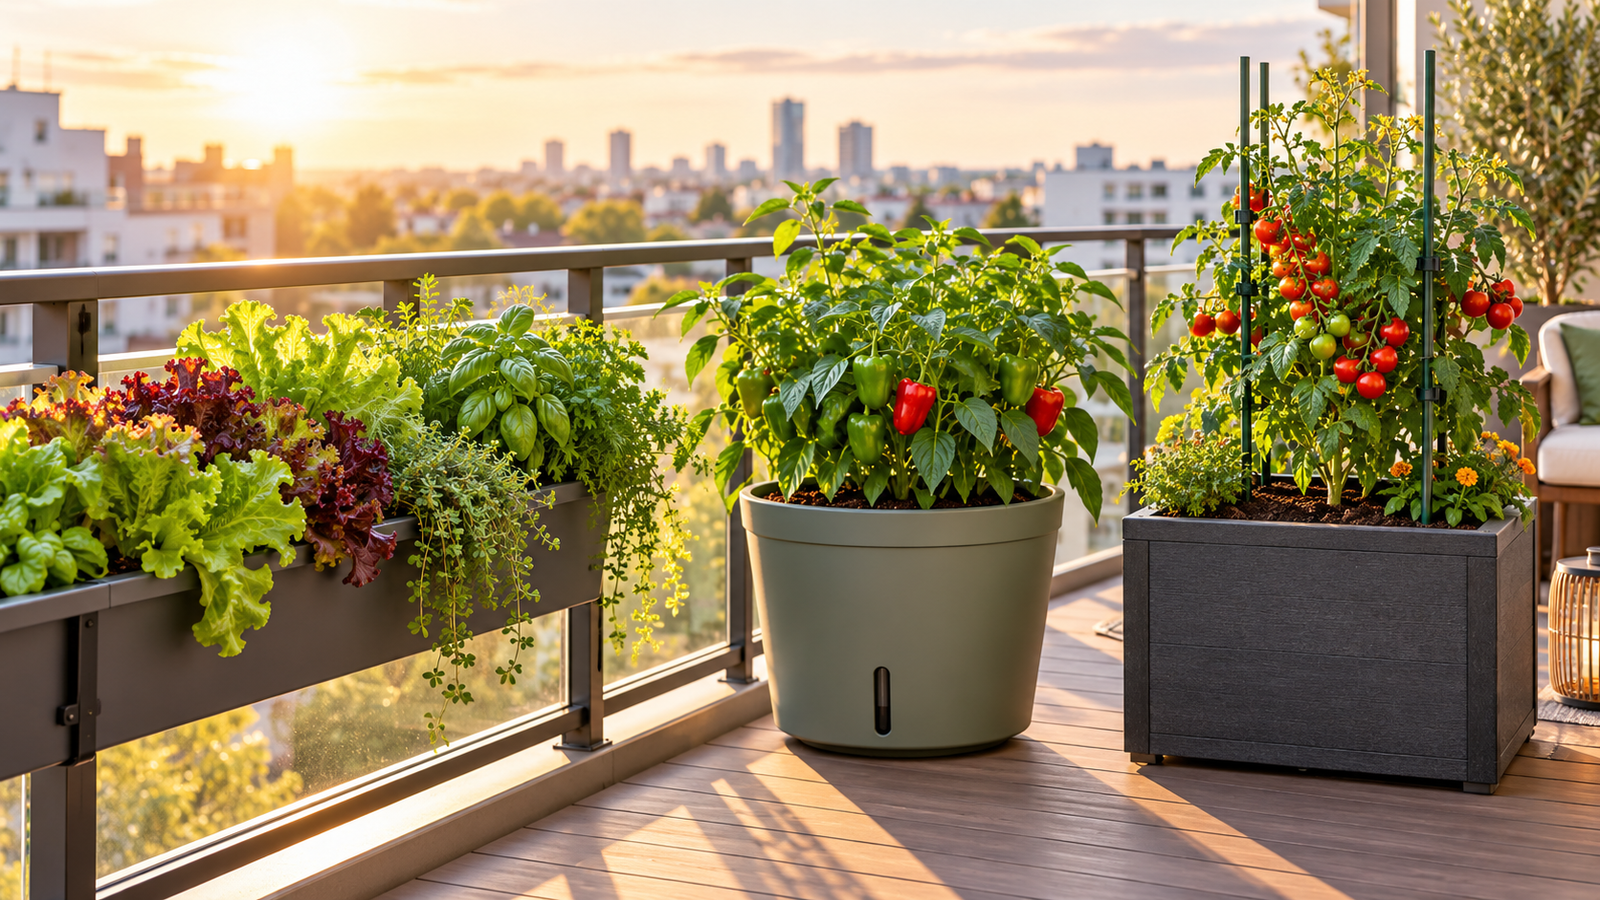
A Practical Crop-to-Container Sizing Chart
Use these categories as a buying guide, not as strict volume requirements. A Lechuza Balconera 80-style planter measures about 79 by 19 by 19 cm. At a 12 cm planting depth, it holds roughly 12 liters of substrate and has a 5-liter reservoir. That capacity suits shallow-rooted balcony vegetables, not large fruiting plants.
| Crop group | Mature size | Root-zone demand | Spacing approach | Support requirement | Suitable planter format | Reservoir class |
|---|---|---|---|---|---|---|
| Tomatoes | Compact to vigorous | Deep/large | One large plant is often better than crowding several | Support stake or trellis; high water demand | Deep grow box or large floor unit | Large |
| Peppers | Compact to medium | Medium | Individual plants or a spacious grouping | Light support may be needed | Medium vegetable planter or grow box | Medium |
| Herbs | Small to medium | Shallow/small to medium | Group several small herbs only if they have similar moisture needs | Usually none | Herb planter or shallow railing unit | Small to medium |
| Leafy greens | Low, spreading canopy | Shallow/small | Plant densely, then harvest outer leaves | None | Shallow railing planter | Small |
| Other compact balcony crops | Compact | Small to medium | Follow the crop’s mature spread; avoid tight crowding | Usually light or none | Small or medium grow box | Small to medium |
Shallow containers work well for lettuce and compact herbs, but they cannot provide the deeper root zone or larger reservoir that vigorous tomatoes require. An EarthBox-style unit shows the difference: according to EarthBox specifications, it uses 2 cubic feet of medium and a 3-gallon reservoir.
When a Smaller Plant Is the Better Choice
Compact or determinate tomatoes reach a limited mature size and set fruit over a defined period. They generally need less canopy space and a lighter support system than indeterminate tomatoes, which keep extending and adding weight to a trellis. Vigorous varieties also require more root space and reservoir capacity.
For a renter’s smaller vegetable planter, UC Agriculture and Natural Resources lists several container-suitable varieties: Patio, Pixie, Tiny Tim, Red Robin, Saladette, Black Sea Man, and semi-determinate Lizzano. Select the variety first, then choose the container. A large tomato should not be confined to a narrow railing planter.
Understand the Reservoir and Wicking System Before You Buy
After choosing the crop and container size, learn how the planter manages moisture. Water sits below the planting chamber and moves upward through a wicking system. In a sub-irrigated planter, capillary action—similar to the way a paper towel pulls up a spill—carries moisture into the growing medium, where roots can access it.
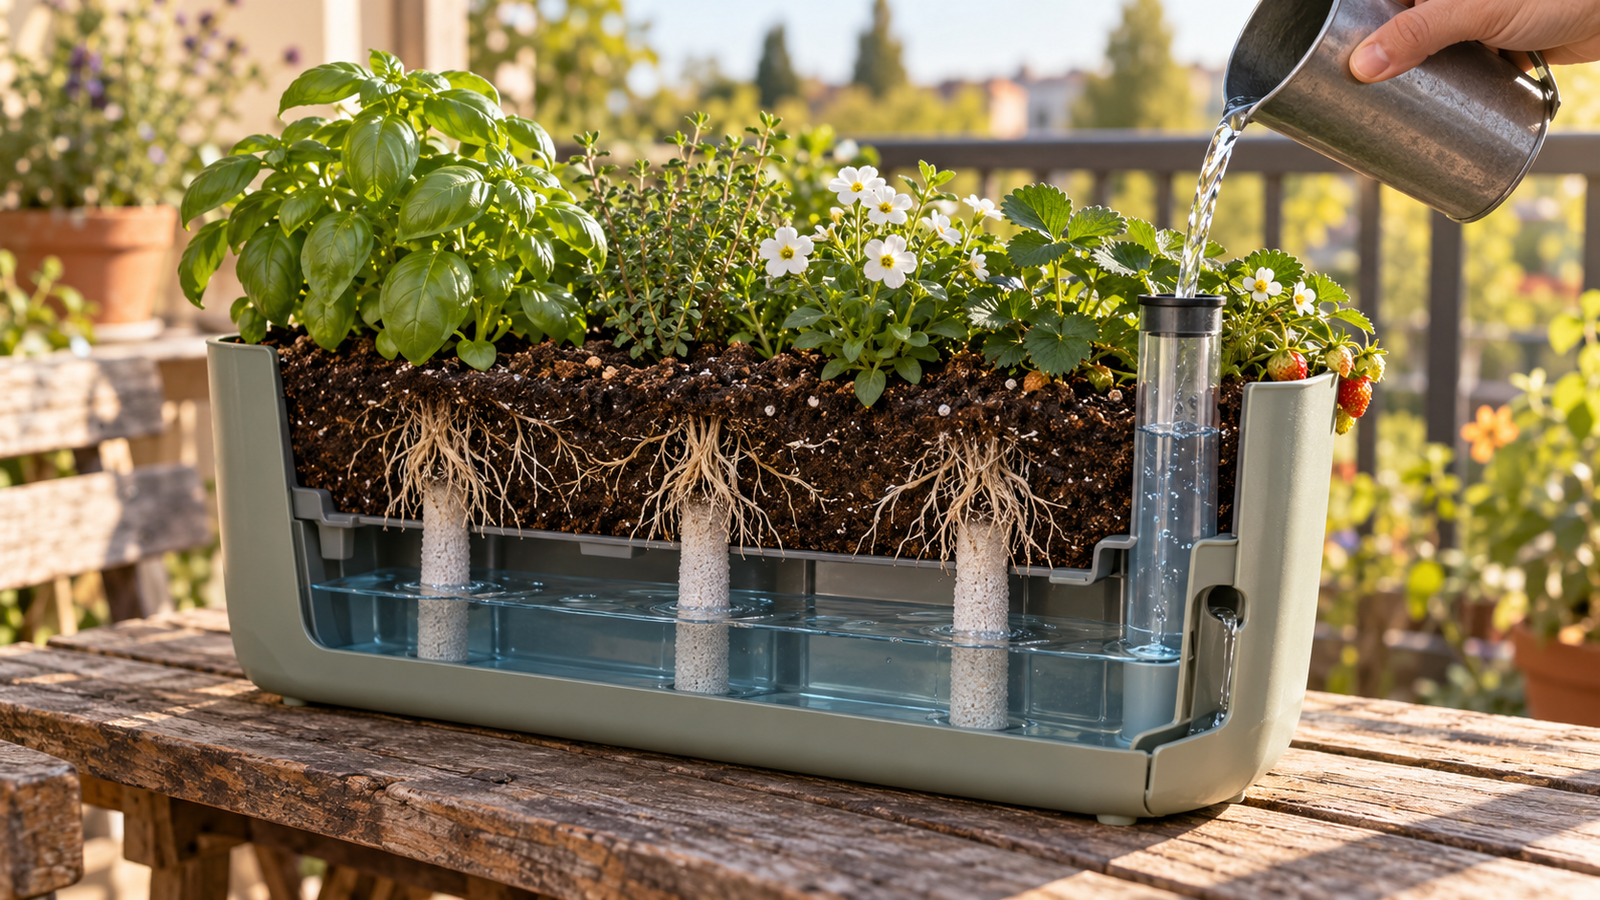
- Water enters the reservoir through a fill tube.
- The wicking chamber or wicking mix draws water upward.
- Plant roots take up moisture from the root zone instead of relying on repeated surface watering.
Reservoir capacity determines how often you refill the planter, but it does not eliminate routine checks. Follow the existing self-watering containers setup guide for installation, and make sure the outdoor overflow outlet remains open so rain cannot flood the root zone.
Size the Reservoir for Your Real Growing Conditions
A sheltered planter of herbs or lettuce may use water slowly. By contrast, a fruiting tomato exposed to sun and wind can empty a large basin quickly. For comparison, a Lechuza Balconera 80-style railing planter has a smaller reservoir than an EarthBox Original style planter.
Weather and plant size alter the refill schedule. Seedlings may need refilling every 4–7 days, while mature fruiting plants in hot, breezy conditions can empty 2–3 gallons within 24–48 hours. Choose a readable water level indicator or an accessible fill tube for a self-watering balcony planter, particularly when it sits behind a railing, and check it daily during the first week. Treat marketing estimates as starting points rather than guarantees.
Use the Right Mix and Drainage Setup to Prevent Root Rot
Check the fill tube or water-level indicator regularly, and use a lightweight, airy potting mix. Outdoors, keep the overflow path clear; a reservoir does not replace drainage. With both safeguards in place, the wicking system can deliver water without leaving vegetable roots submerged.
Drainage Is Still Necessary in a Self-Watering Planter
A sub-irrigated planter holds water below the planting chamber, but excess rain still needs somewhere to go. Make sure the drainage holes and overflow hole are open. Some units ship with a rubber plug for indoor display. If that plug stays in place outdoors, rain can rise above the aeration screen and submerge the roots. Purdue Extension explains that waterlogged pore spaces cannot supply roots with oxygen.
- Choose an airy mix containing about 70–80% peat or coconut coir, 10–20% perlite, and 10% vermiculite. Thoroughly pre-moisten peat-based mix before planting because dry peat can repel water and delay wicking, according to University of New Hampshire Extension.
- Avoid garden soil, topsoil, and bark-heavy material. Fine particles and debris can clog the aeration screen and interrupt capillary movement, as EarthPlanter guidance describes.
- Do not add gravel, stones, or broken pottery. These materials do not improve drainage and can interfere with wicking or create a perched water table.
- Top-water once after planting to hydrate the upper roots. After that, fill the reservoir according to the manufacturer’s instructions.
Troubleshooting: Mix that stays saturated, poor growth, or a foul odor points to a drainage or aeration problem and may indicate root rot. Check the overflow plug, mix texture, and reservoir instructions before identifying a specific disease. Related: Self-Watering Containers for Balcony Vegetables: A Renter’s Setup Guide.
Maintain the Planter Through Summer and the End of the Lease
A weekly check, an inspection after heavy rain, and a thorough cleaning before storage will keep a self-watering planter working through the growing season. Keep the reservoir covered, clean, and free of organic fertilizer to protect the wicking system and help prevent algae, odors, and mosquito larvae.
A Simple Renter’s Maintenance Routine
Once a week, check the water level and examine the reservoir opening for algae, sediment, or stagnant odors. Wipe away visible mineral buildup before it hardens. After heavy rain, make sure the outdoor overflow hole is open. Some planters arrive with a plug installed; leaving it in place can flood the root zone (manufacturer guidance).
Do not pour compost tea or liquid organic fertilizer into the fill tube. Bacterial slime can block the wicking chambers (commercial SIP guidance). Use only the fertilizer method specified for your model.
- To limit algae growth, choose an opaque or covered reservoir, and keep the fill opening clean.
- If neglected standing water contains larvae, a quarter of a standard Bti Mosquito Dunk is specified for 2–5 gallons for about 30 days. Follow the product label and local guidance (Summit Chemical).
- For end-of-season storage or between crops, remove the liner, screen, tube, and cover if they are removable. Rinse the parts, clean away deposits, let everything air-dry completely, and store the parts indoors. Empty the planter before lifting it or restoring the balcony to its original condition.
- For covered systems, turn a reversible cover white side up when peak temperatures consistently reach 85°F or higher, following EarthBox guidance (EarthBox).
Conclusion
After checking heat exposure and the setup, choose the smallest planter that provides enough root space and support for the mature crop. Shallow railing planters work well for herbs and leafy greens; compact tomatoes and peppers require deeper, sturdier containers with support, as outlined in UC ANR container-crop guidance.
Before buying self-watering planters for balcony vegetables, measure the available space, confirm the fully watered weight, and check that you can access the reservoir and manage outdoor overflow. Use lightweight potting mix, spread containers across the balcony instead of concentrating the load, and check the water level more often during hot or windy weather. Begin with one planter that passes all of these checks.
Leave a Reply