Introduction
Can four pots of basil, mint, and thyme on a rented balcony actually cut your grocery bill and make your cooking better? Honestly, yes. A balcony herb garden for beginners is one of the cheapest, lowest-risk ways to start growing your own food, even if you’ve killed every houseplant you’ve ever owned.
No yard? No problem. The U.S. EPA’s urban agriculture research found that container gardens on patios and balconies can produce surprisingly solid yields in as little as 4 to 6 square feet. That’s not much bigger than a bath towel laid flat.
Here’s what this guide actually covers: containers, sunlight, watering habits, and which herbs hold up in tight rental spaces without a lot of fuss.
We’ll also get into the rookie mistakes worth dodging, along with a handful of tips I’ve picked up for keeping herbs alive and productive all season long.
What Is Balcony Herb Garden For Beginners? A Complete Overview
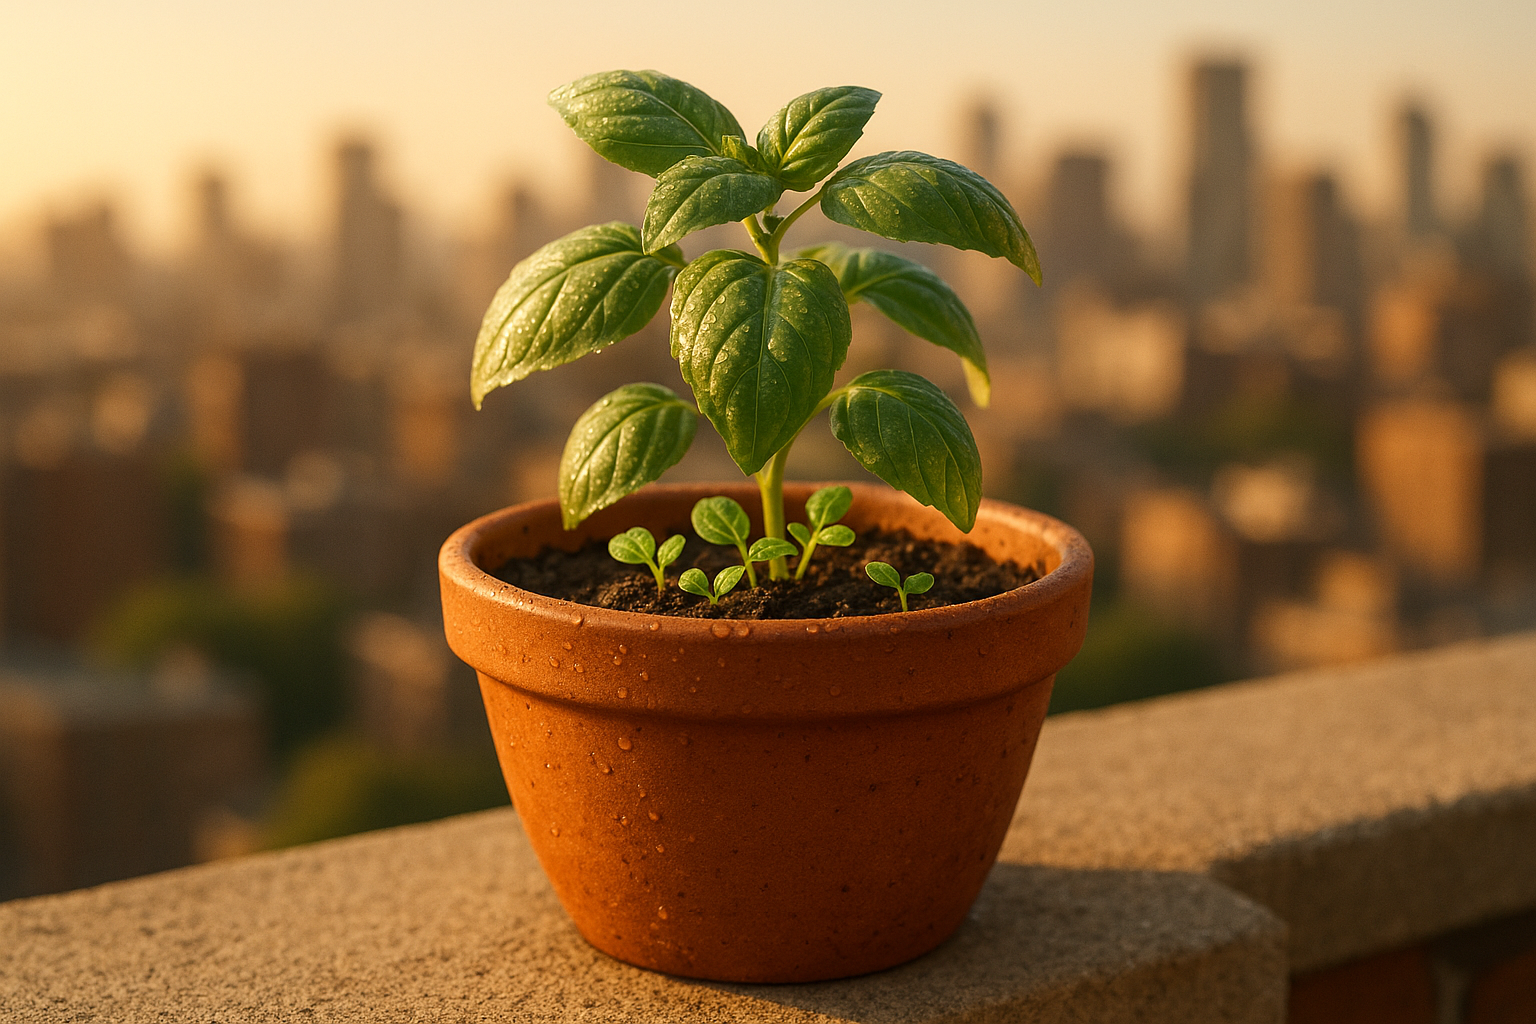
So what does a balcony herb garden for beginners actually look like? Honestly, it’s simpler than most people expect. It’s a small-scale, container-based herb growing setup designed for folks with zero gardening experience and limited outdoor space — think a rented apartment balcony rather than a backyard. Instead of digging into soil, you’re growing plants in pots, boxes, or hanging planters that sit on the balcony floor or hang off the railing.
Here’s a comparison that might help: picture it as a tiny, portable version of a farm plot. According to the U.S. Department of Agriculture, container gardening runs on the same basic principles as in-ground farming — sunlight, water, nutrients, spacing — just shrunk down and made mobile. That’s really the whole concept.
Another way to think about it: each pot is its own little ecosystem, kind of like a fish tank.
Everything the plant needs — water, light, nutrients — has to be supplied on purpose, since there’s no surrounding soil network to bail you out when something’s missing.
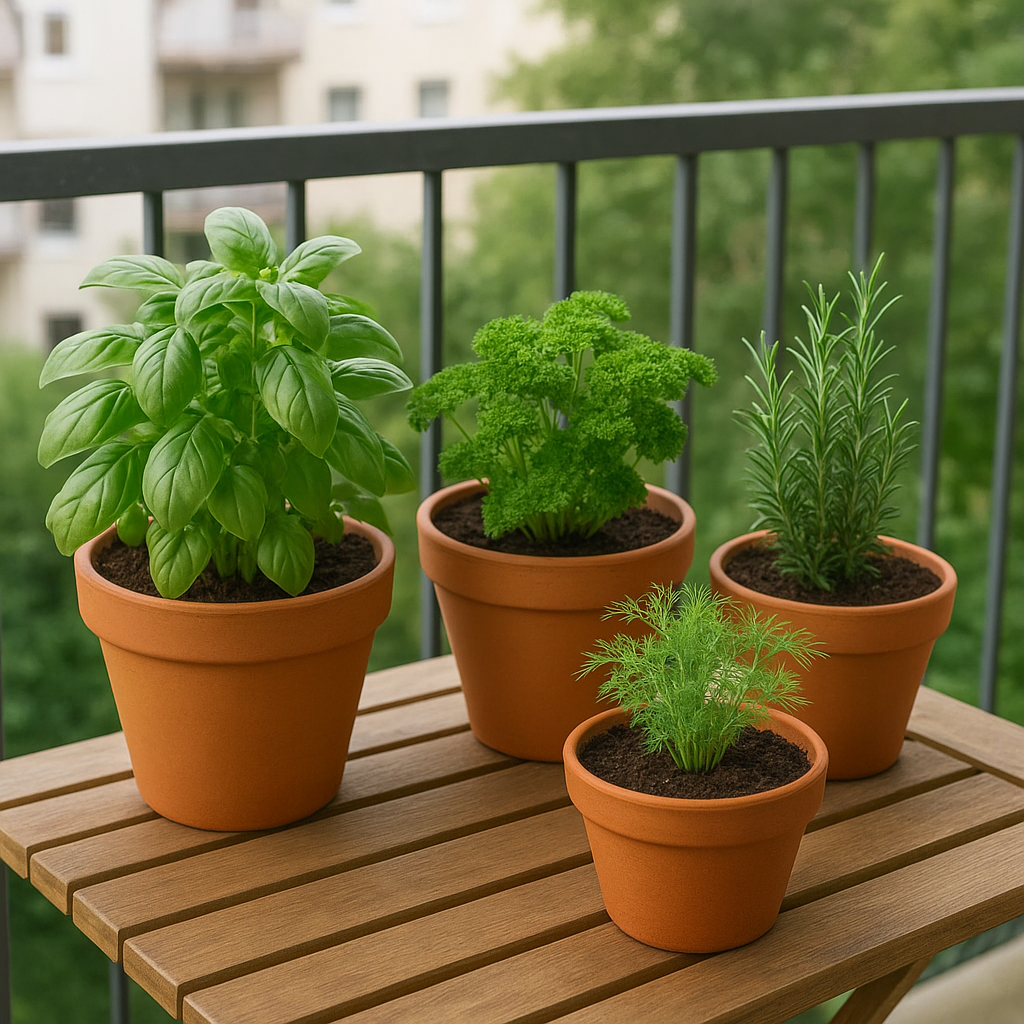
For beginners setting up a small-space herb garden on a balcony, this usually means starting with somewhere around three to five pots, sticking to forgiving herbs like basil or mint, and picking a spot that gets at least four hours of sun a day. Simple. Renter-friendly. No permanent changes required.
How Balcony Herb Garden For Beginners Works: Key Principles
So you’ve got your pots lined up and picked out that sunny corner of the balcony. Good. Now let’s talk about what’s actually happening underneath the surface, because understanding the mechanics is what separates people who kill their basil in two weeks from people who harvest it all summer. Here’s the thing: the whole system runs on a pretty simple loop. Light powers photosynthesis, water carries nutrients around, and your hands are basically standing in for everything nature would normally handle outdoors. Once that cycle clicks in your head, the rest is just upkeep.
- Sunlight capture: Herbs turn sunlight into energy through photosynthesis, and most culinary varieties want somewhere in the 4-6 hour range daily — that’s according to Penn State Extension’s container herb guidelines, which I trust more than most of the generic advice floating around online.
- Water and drainage: Every pot needs drainage holes, full stop. Roots that sit in standing water will rot. Excess water should be draining out within a few minutes, not pooling for hours.
- Soil as a nutrient bank: This one trips up a lot of beginners. Unlike a garden bed with years of accumulated organic matter, container soil runs out of steam fast. A decent potting mix will feed your plants for roughly 4 to 8 weeks before they start begging for supplemental fertilizer.
- Airflow and spacing: Honestly, wind on a balcony is doing you a favor. It toughens up the stems and cuts down on fungal issues that thrive in stagnant, humid air.
- Harvesting cycle: Trimming your herbs regularly tells the plant to keep pushing out new growth — kind of like how mowing a lawn actually makes it thicker instead of thinner.
Forget to water for a week and everything grinds to a halt. That’s the deal you’re making, though — a bit more attention in exchange for a beginner-friendly herb garden you can run entirely from a fifth-floor rental with zero yard access.
Key Benefits and Advantages of Balcony Herb Garden For Beginners
Here’s the thing about that trade-off — it stops feeling like one pretty quickly. Once a balcony herb garden for beginners starts producing, the payoff shows up in three distinct ways: fresher food on your plate, real money staying in your pocket, and honestly, a mood lift you didn’t expect from a few pots of dirt. These aren’t fuzzy, feel-good claims either. You’ll see them reflected in your grocery bill within weeks.
- Grocery savings. One healthy basil plant can produce enough leaves to replace roughly $3-4 in store-bought clamshells every week during peak season — that’s according to home-gardening cost breakdowns referenced in EPA urban agriculture research.
- Freshness and flavor. Herbs start losing their aromatic oils within hours of being cut. So snipping mint straight from the pot right before you cook? It beats anything that spent days traveling from a farm to a grocery shelf. No contest, really.
- Stress relief. I know it sounds a little too simple, but the research backs it up. Studies on gardening and wellbeing — including work summarized in Exploring the Benefits of Urban Gardening — link even small-scale plant care to noticeably lower reported stress levels.
- Zero-waste cooking. You snip only what the recipe calls for. That’s it. No more sad, wilted cilantro rotting away in the crisper drawer.
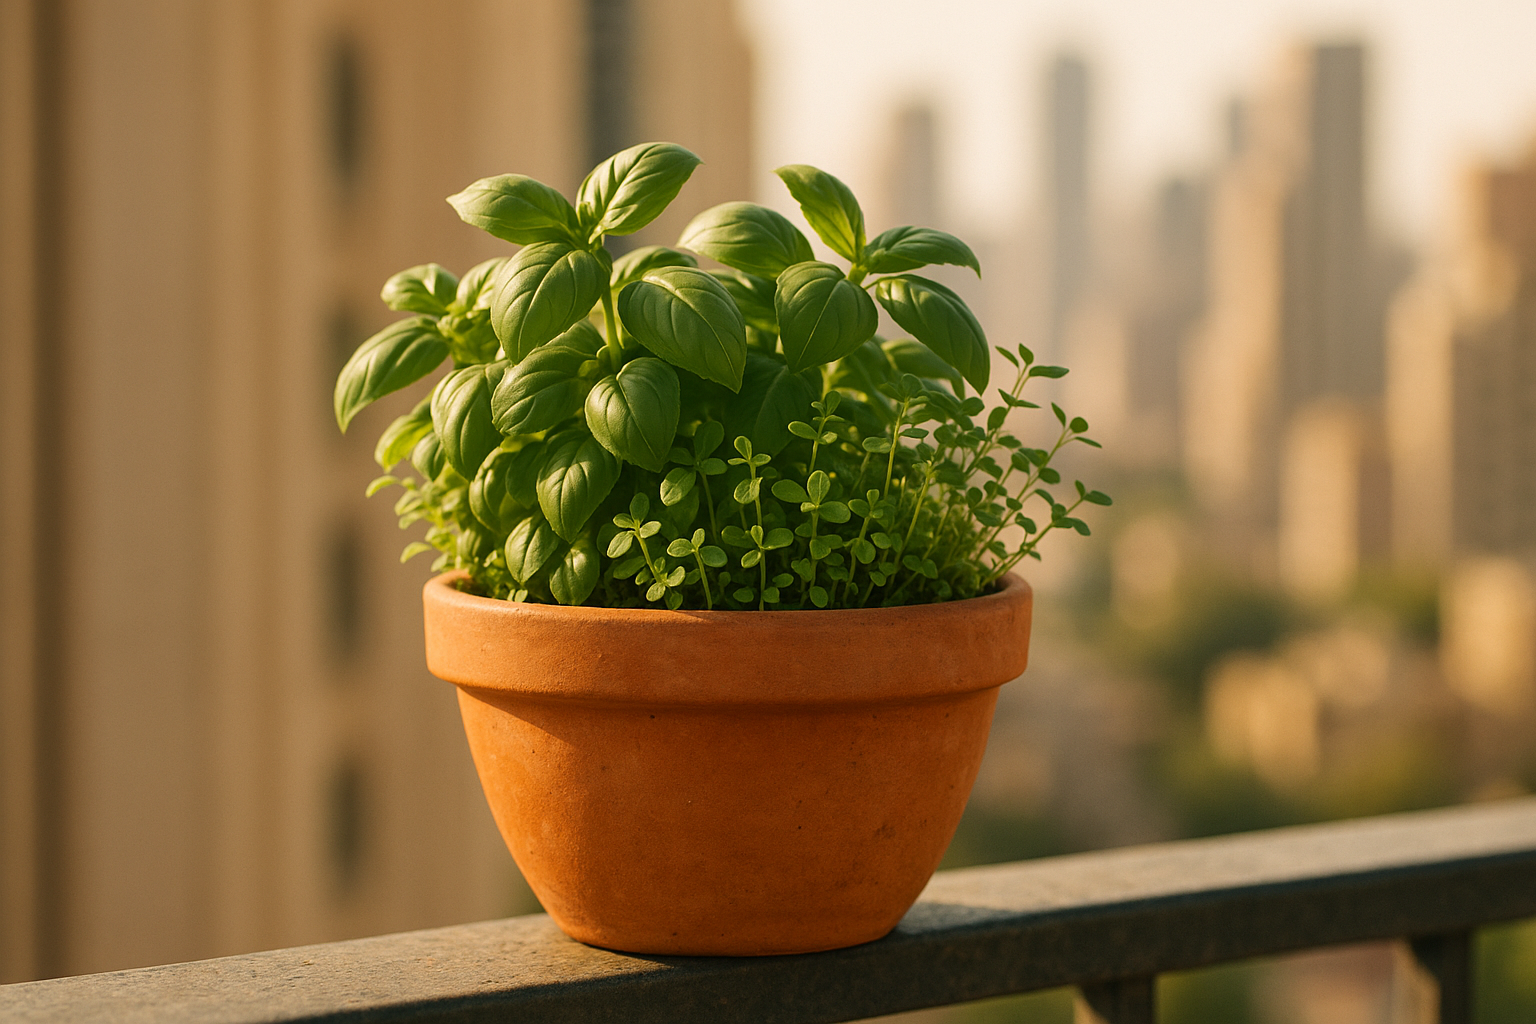
- Small footprint, real yield. A handful of pots — say 3 to 5 — on a rented balcony can supply enough herbs to cover daily cooking needs. No yard, no problem.
Common Mistakes to Avoid with Balcony Herb Garden For Beginners
With just a few pots you can already supply your kitchen — but here’s the thing about small setups: small mistakes get magnified fast. The biggest error I made on my own first balcony herb garden for beginners wasn’t watering or sunlight. It was pot color, of all things. Let me walk you through the traps nobody really warns you about.
- Black plastic pots on a south-facing balcony. They soak up heat like nobody’s business and can push soil temps well past 100°F, essentially cooking the roots. Swap for terracotta or light-colored containers and thank yourself later.
- Grouping mint with everything else. Mint’s roots spread aggressively — almost rudely so — and will choke out neighboring herbs in a shared planter. Give it its own pot. Always. No exceptions.
- Ignoring wind exposure. Balconies above the 4th floor or so often get sustained gusts that snap basil stems and dry out soil twice as fast as you’d expect. Cluster your pots near a wall for a makeshift windbreak.
- Watering on a fixed schedule instead of checking soil. A rainy stretch means your herbs need far less water than usual. Stick a finger in the soil first — it sounds basic, but almost nobody does it consistently.
- Using leftover garden soil from an old in-ground bed. It compacts in containers and drains poorly, according to Penn State Extension’s container guidance. Honestly, just spring for fresh potting mix instead — it’s worth the extra few dollars.
Small fixes. Big difference in survival rates. Any beginner setting up a balcony herb garden can sidestep most of their plant loss just by steering clear of these five habits.
Expert Tips to Get the Most Out of Balcony Herb Garden For Beginners
Okay, so avoiding those five habits will keep your plants from dying outright. But honestly? That’s just the bare minimum. What actually separates a balcony herb garden for beginners that thrives from one that limps along until it gives up sometime in July comes down to a handful of small, repeatable routines. Not luck, not a green thumb you were born with — just habits. Here’s what I’d tell a friend starting out.
- Group pots by water needs. Rosemary and thyme prefer things on the dry side, while basil and mint are thirsty and want steady moisture. Put them all on the same drip tray and you’re basically guaranteeing either root rot or a sad, wilted mess — just pick one and stick with it.
- Pinch growing tips weekly. This one feels counterintuitive at first — why would cutting the plant help it grow? But snipping the top set of leaves forces the plant to branch out sideways instead of shooting straight up into one leggy stem. Bushier, fuller, better yield.
- Rotate pots every few days. Plants lean toward whatever light source they can find, so if you never turn the pot, you’ll end up with a lopsided herb reaching for the window. A quarter-turn every couple of days fixes that.
- Feed with diluted liquid fertilizer monthly. Container soil just doesn’t hold nutrients the way garden soil does — the Penn State Extension has pointed this out, and it matches what most experienced growers notice too. Skip feeding altogether and you’ll start seeing pale leaves and stalled growth within a month or two.
- Cluster pots together on windy balconies. Think of how trees planted in a stand shelter each other from storm winds — grouping your containers does the same thing on a smaller scale, cutting down on wind stress and moisture loss.
- Keep a phone note log. This sounds tedious, but it takes ten seconds. Jot down when you watered and what you harvested. Patterns show up faster than you’d expect, and when something goes wrong, you’ll actually have a way to troubleshoot instead of guessing.
Frequently Asked Questions
Okay, we’ve covered the habits and the pitfalls. But a handful of questions always come up once people actually start planting, so let’s tackle those directly.
What herbs are best for beginners on a balcony herb garden for beginners?
Basil, mint, chives, parsley, and thyme. Honestly, these five cover almost every beginner scenario I’ve seen. They shrug off mild neglect, grow fast enough that you see progress within a week or two, and don’t demand anything fancier than a standard pot. Mint and basil in particular forgive the renter who forgets a watering day (or three) here and there.
How much sunlight do balcony herbs need?
Most herbs want somewhere in the range of 4 to 6 hours of direct sun each day — Penn State Extension backs this up, and it matches what most growers experience firsthand. South- or west-facing balconies tend to deliver that without much effort on your part. Got a shadier spot? Stick with mint or parsley. Basil and thyme sulk without enough light, but those two handle partial sun just fine.
Can you grow herbs in pots without drainage holes?
I’d avoid it if you possibly can. Water gets trapped, and on a sunny balcony, root rot can take hold in a matter of days — not weeks. If you’re attached to a particular pot that happens to lack holes, drill a few yourself, or just use it as a decorative outer shell around a nursery pot that already drains properly. Problem solved, and you still get to keep the pot you liked.
What is the best soil for balcony herb gardens?
A fresh, well-draining potting mix made for containers — not soil dug from a garden bed. Here’s the thing: garden soil compacts once it’s confined to a pot, and that suffocates roots by cutting off oxygen. Look for a mix with perlite or vermiculite in it. Those keep things airy and let excess water drain off quickly after a storm or a heavy watering session.
How often should you water balcony herbs?
There’s no magic number, honestly. Check the soil instead of the calendar. Push a finger about an inch down; if it’s dry, water, if not, wait. Wind-exposed balconies and terracotta pots lose moisture fast — sometimes you’re watering daily in the middle of summer — while a cooler stretch of weather might only need attention twice a week.
Conclusion
Honestly, that finger test says almost everything you need to know about a balcony herb garden for beginners. Enough light, pots that fit the plant, soil that isn’t tired and worn out, and watering based on what you actually feel rather than some fixed schedule. Start small — 3 or 4 pots of forgiving herbs like basil, mint, and chives is plenty for your first season.
Give them their 4-6 hours of sun.
Check the soil with your finger before you grab the watering can. It’s the same quick habit you’ll fall back on all summer long, so you might as well get comfortable with it now.
And steer clear of the classic traps: black pots that cook roots in the afternoon sun, mint bullying everything else out of a shared container, stale bagged soil that’s been sitting around too long. Dodge those three things alone, and you’ve already avoided most of what trips beginners up.
Do that, and fresh herbs stop being a novelty and just become part of your routine — not another sad plant on the windowsill you feel guilty about.


")
")